
Pakistani Bhindi – Okra & Onion Sabzi
My favourite vegetable dish: bite-sized okra cooked with plenty of red onions, tomato and simple spices until the pieces are tender, separate and no longer slimy.
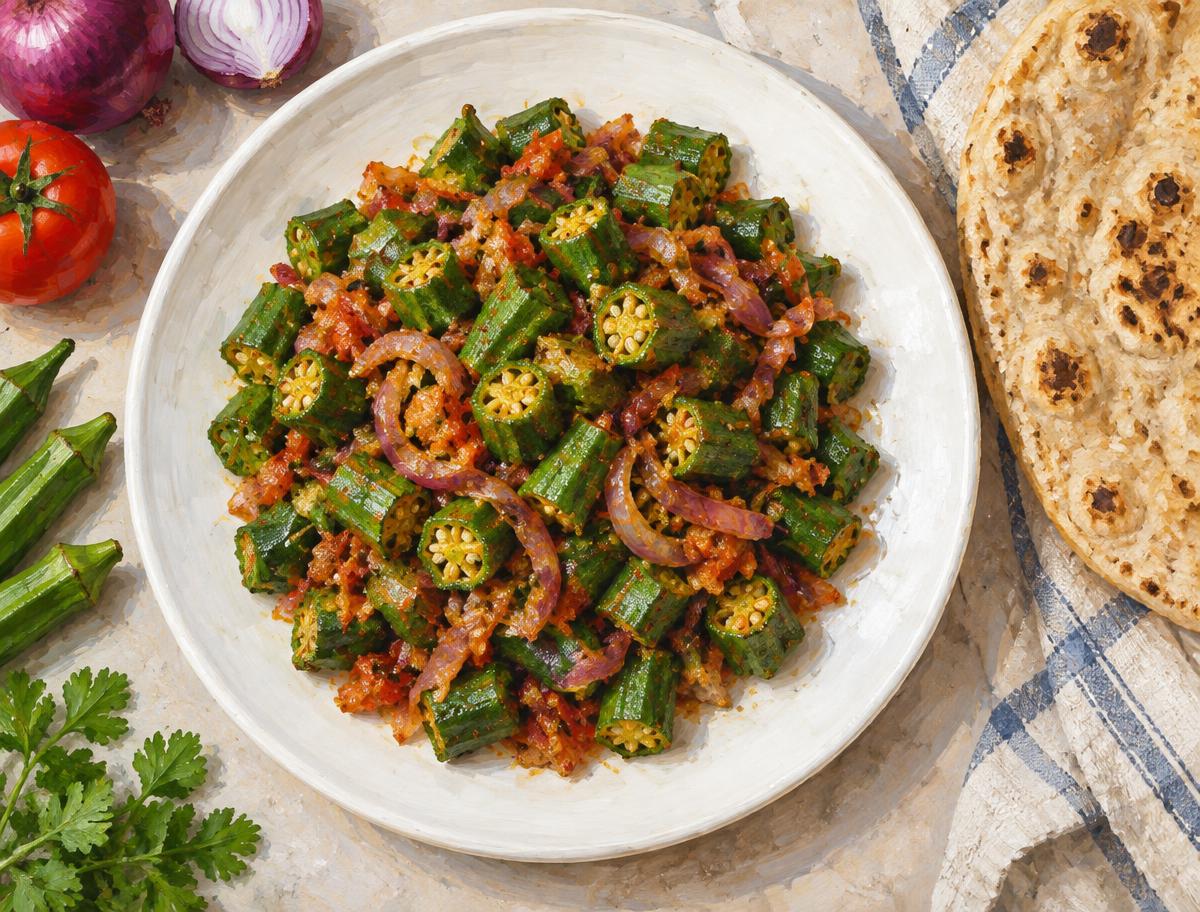
The vegetable I hated before it became my favourite
Bhindi is now my favourite vegetable dish.
That would have surprised me as a child. I hated it without ever really giving it much of a chance.
Then one day I was having lunch at my best friend Masam's house and bhindi was the only thing being served.
I made faces.
His mum was strict. Masam informed me, essentially, that I was going to have to eat it. So I mustered the courage to take my first bite.
I hated every chew.
I ate the whole bowl anyway, along with an entire roti, maintaining throughout that this would absolutely never happen again.
The problem was that by the time I had finished, I knew something had changed. I still insisted I didn't like it, but somewhere along the way I had developed an appreciation for it.
The next time my grandmother made bhindi at home, I was all over it. And hers was even better.
Years later, when I took cooking lessons before returning to university in Singapore, bhindi was the first thing I wanted to learn to make. The handwritten recipe from that lesson is still in my notebook.
What is bhindi?
Bhindi is okra.
In South Asian English, you may also hear it called lady's fingers. That is actually the English name I grew up knowing for it, which is why my original handwritten recipe is headed Lady Fingers.
In Britain today, however, supermarkets and greengrocers are much more likely to label the vegetable okra.
So if someone in your family sends you out for lady's fingers and Tesco appears to have no idea what you mean, look for okra. They are the same vegetable.
And no, in this context we are not talking about the sponge biscuits.
The one thing to remember
The key to good bhindi is managing water before the tomato ever enters the pan:
dry → cut → fry → remove most stickiness → then add wetter ingredients
The finished dish should be dry-ish, tender and coated – not saucy. No pool of liquid; the onions and tomato cling to the pieces, and most of the bhindi keeps its shape.
Step by step
Step 1
Wash the bhindi whole
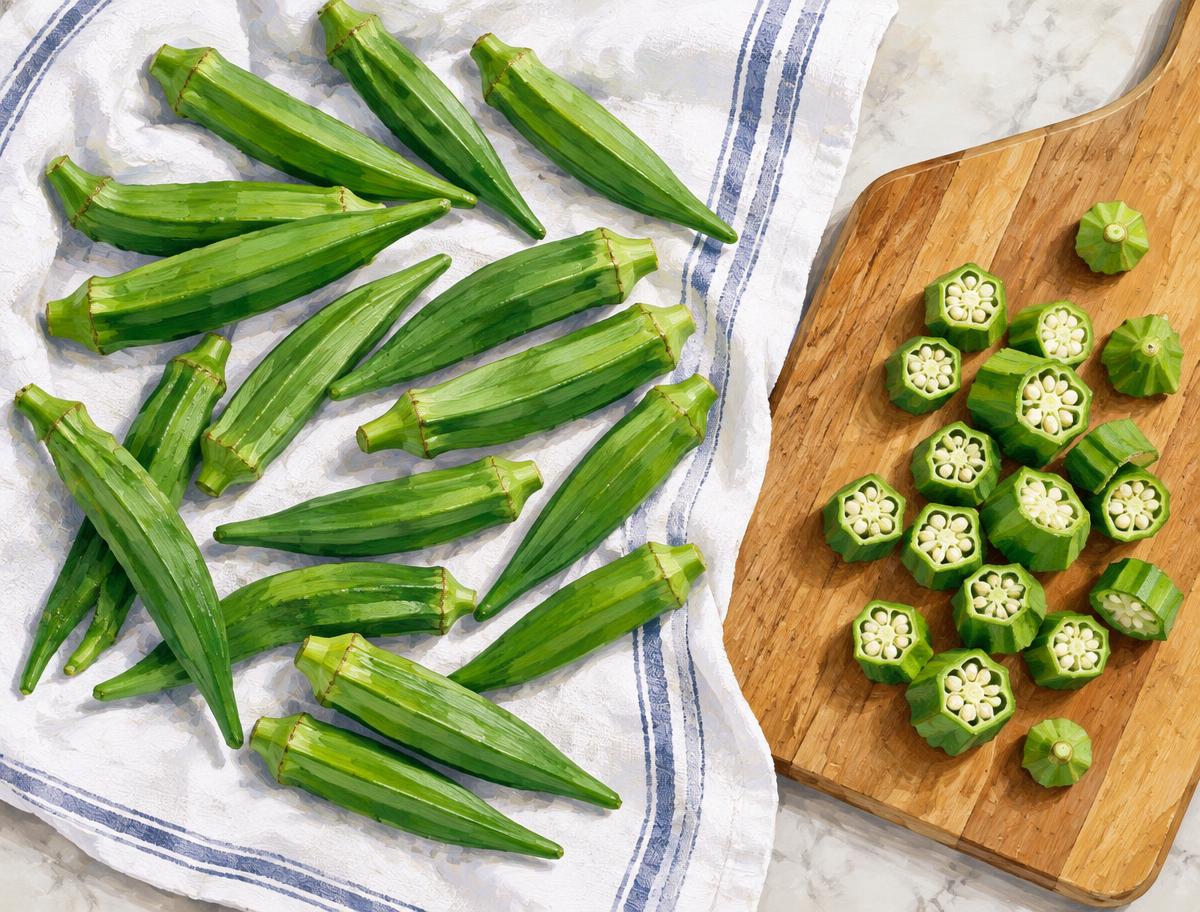
Wash the okra before cutting it. Do not chop it first and then wash it.
Spread the whole bhindi out on a clean tea towel or kitchen paper and let it dry properly. The surface should be as dry as practical before cutting.
Temporary AI illustration – Billie's own photo will replace this. Step 2
Cut into bite-sized pieces
Trim the tops and bottoms. Cut the bhindi into pieces roughly ¾–1 inch long.
The goal is a proper bite-sized piece, still large enough that the finished dish contains visible individual pieces rather than collapsing into a soft mass.
Step 3
Fry the bhindi first
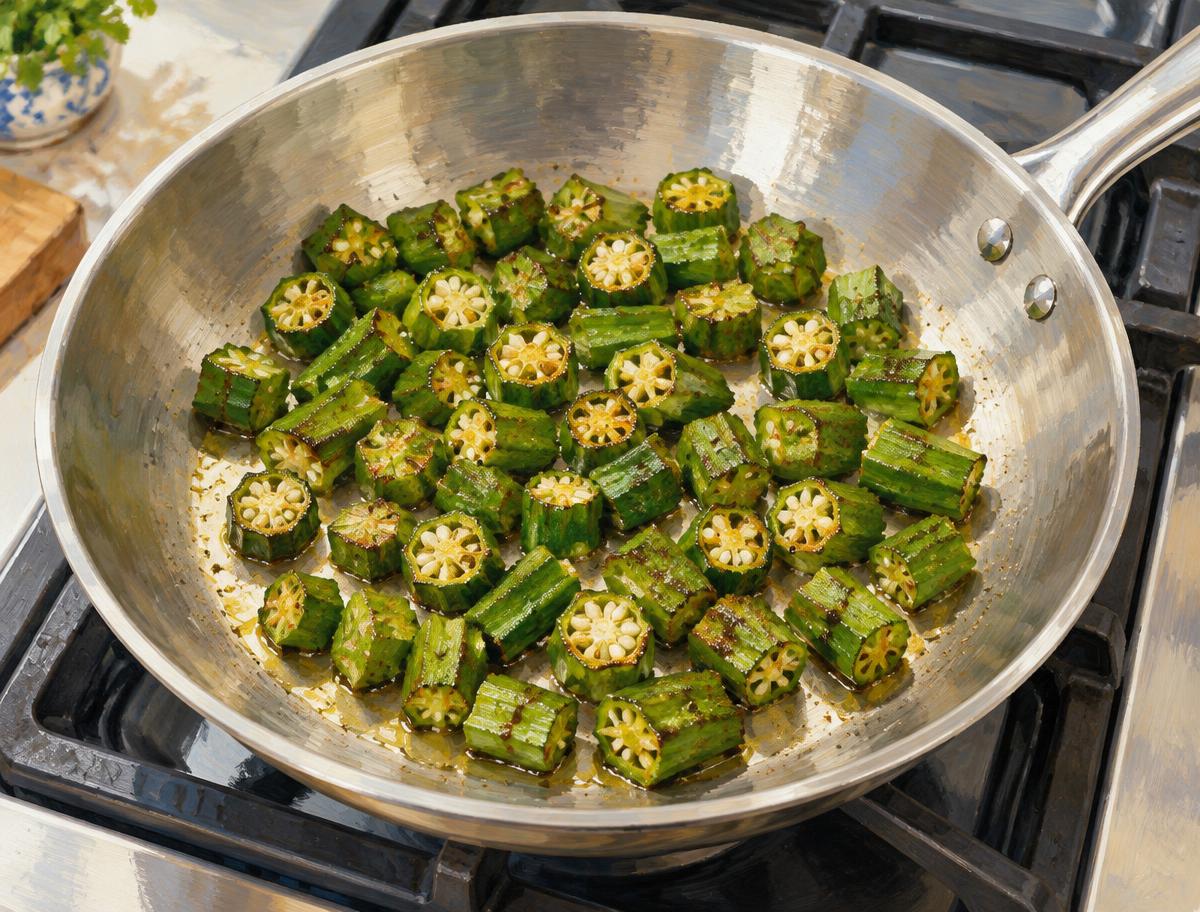
Heat about 2 tbsp oil in a wide frying pan, wok or karahi-style pan. Add the bhindi and cook over low to medium-low heat.
Do not add the onions or tomatoes yet. Stir occasionally rather than constantly – the bhindi needs enough contact with the hot pan for the cut edges to begin drying and frying.
Step 4
Watch for the "sizzling dance"
This is the most important visual cue in the recipe.
As the cut edges come into contact with the pan, the sticky mucilage begins to cook away. The pieces will almost seem to do a little sizzling dance against the pan. Keep cooking and turning them occasionally.
You are looking for the point where most of the sticky film has disappeared. That is when this stage is done. Do not obsess over removing every trace – once the majority of the stickiness is gone, move on.
Temporary AI illustration – Billie's own photo will replace this. Step 5
Add the red onions and spices
Once most of the sticky film has disappeared, add the red onions with the salt, red chilli powder, cumin, turmeric and ground coriander. Mix gently.
Cover and cook over low heat for around 10 minutes, stirring occasionally. The onions should soften and become part of the dish without turning the bhindi into mush.
Tip: If the pan becomes too dry, add a little extra oil. This is particularly likely if scaling the recipe up.
Step 6
Add the tomatoes
Add the chopped fresh tomatoes. If using tinned tomatoes, add about ¼ tsp sugar as well. Mix gently.
Cover and continue cooking for about 20–25 minutes, stirring occasionally. Fresh tomatoes may take a little longer to break down. The tomatoes should cook into the onions and spices rather than form a wet tomato sauce.
Step 7
Stop before the bhindi disappears
The finished bhindi should be tender, but ideally the pieces should still be clearly recognisable. You should be able to look into the pan and decide whether you want one, two, three or four pieces in your next bite.
- tender
- separate pieces
- softened onions
- tomato cooked down
- little or no obvious slime
- not watery
It will still taste good if it goes further, but if the bhindi is becoming very soft, stop cooking. Serve with roti.
What to serve with it
How I actually eat this
Roti. Absolutely roti.
This is not one where I am offering much ambiguity. I eat bhindi with roti.
Take a piece of roti, make a little nawala – a bite formed with the bread – and pick up however many pieces of bhindi you think you can manage. One or two is restrained. Three is good. I am greedy enough to fit four into one nawala.
Even Mamoo Sally probably wouldn't eat this with rice.
Probably. You never quite know with Sally.
Substitutions and variations
Why mine is softer than my mum's
My mother's bhindi generally stayed more distinct than mine. Mine has a tendency to become slightly squishier because I leave the okra in the pan through the onion and tomato stages.
It is still delicious. But if your aim is firmer, more separate pieces, removing the bhindi after the initial frying stage is the smarter method.
Fresh or tinned tomatoes
Fresh tomatoes are slightly better here, but tinned tomatoes work perfectly well. Fresh tomatoes may take longer to cook down. If using tinned, add about ¼ tsp sugar to round out the acidity.
Onions
The original handwritten recipe says 3 onions, but those were the smaller onions common in Pakistan. For a UK kitchen, use about 2 large red onions. More onion is preferable to too little.
Frequently asked questions
What is bhindi called in English?
Bhindi is called okra in English. It is also known as lady's fingers, particularly in South Asian English.
Are lady's fingers and okra the same thing?
Yes. Lady's fingers and okra are names for the same vegetable.
Why is okra slimy?
Okra contains natural mucilage. Cutting it exposes that sticky material, and water makes it more noticeable.
How do I cook bhindi without it becoming slimy?
Wash the okra whole, dry it thoroughly before cutting, then fry the cut pieces before adding watery ingredients such as tomatoes.
Should I wash bhindi before or after cutting?
Wash it before cutting and dry it thoroughly.
How big should I cut bhindi?
About ¾–1 inch long, or roughly bite-sized.
Why is my bhindi mushy?
It may have cooked too long or been stirred too aggressively. For firmer pieces, fry the bhindi first, remove it, cook the masala separately and add the okra back later.
Can I use tinned tomatoes?
Yes. Fresh tomatoes are slightly preferable, but tinned tomatoes work well. Add about ¼ tsp sugar if using tinned.
Is bhindi spicy?
This version is mildly spiced rather than very hot. Adjust the red chilli powder to taste.
What should I serve with bhindi?
Roti is my strong preference.
Recipe card
Pakistani Bhindi – Okra & Onion Sabzi
By Billie Nabeel Tabassum
- Prep
- 15 min
- Cook
- 40 min
- Total
- 55 min
- Serves
- 4 servings
- Course
- Main
- Cuisine
- Punjabi / Pakistani
- Spice
- Mild–Medium
- Yield
- Approximately 4–5 portions
- Gluten-free
- Dairy-free
- Vegetarian
- Vegan
Ingredients
Oil, seasoning and cooking time do not scale perfectly. Larger batches of bhindi may need extra oil and more pan space. Use the visual cues in the method rather than relying only on time.
Ingredients
Equipment
- Wide frying pan, wok or karahi-style pan with a lid
- Clean tea towel or kitchen paper
- Sharp knife
- Kitchen scales
- Measuring spoons
Method
- 1
Wash the bhindi whole
Wash the okra before cutting it. Do not chop it first and then wash it.
Spread the whole bhindi out on a clean tea towel or kitchen paper and let it dry properly. The surface should be as dry as practical before cutting.
- 2
Cut into bite-sized pieces
Trim the tops and bottoms. Cut the bhindi into pieces roughly ¾–1 inch long.
The goal is a proper bite-sized piece, still large enough that the finished dish contains visible individual pieces rather than collapsing into a soft mass.
- 3
Fry the bhindi first
Heat about 2 tbsp oil in a wide frying pan, wok or karahi-style pan. Add the bhindi and cook over low to medium-low heat.
Do not add the onions or tomatoes yet. Stir occasionally rather than constantly – the bhindi needs enough contact with the hot pan for the cut edges to begin drying and frying.
- 4
Watch for the "sizzling dance"
This is the most important visual cue in the recipe.
As the cut edges come into contact with the pan, the sticky mucilage begins to cook away. The pieces will almost seem to do a little sizzling dance against the pan. Keep cooking and turning them occasionally.
You are looking for the point where most of the sticky film has disappeared. That is when this stage is done. Do not obsess over removing every trace – once the majority of the stickiness is gone, move on.
- 5
Add the red onions and spices
Once most of the sticky film has disappeared, add the red onions with the salt, red chilli powder, cumin, turmeric and ground coriander. Mix gently.
Cover and cook over low heat for around 10 minutes, stirring occasionally. The onions should soften and become part of the dish without turning the bhindi into mush.
Tip: If the pan becomes too dry, add a little extra oil. This is particularly likely if scaling the recipe up.
- 6
Add the tomatoes
Add the chopped fresh tomatoes. If using tinned tomatoes, add about ¼ tsp sugar as well. Mix gently.
Cover and continue cooking for about 20–25 minutes, stirring occasionally. Fresh tomatoes may take a little longer to break down. The tomatoes should cook into the onions and spices rather than form a wet tomato sauce.
- 7
Stop before the bhindi disappears
The finished bhindi should be tender, but ideally the pieces should still be clearly recognisable. You should be able to look into the pan and decide whether you want one, two, three or four pieces in your next bite.
- tender
- separate pieces
- softened onions
- tomato cooked down
- little or no obvious slime
- not watery
It will still taste good if it goes further, but if the bhindi is becoming very soft, stop cooking. Serve with roti.
Notes
Batch size matters. Bhindi benefits from contact with the hot pan. If doubling the recipe, use a larger, wider pan, consider cooking the bhindi in batches and expect to top up the oil. Do not overcrowd the pan so heavily that the okra steams instead of frying – this is especially important for the slime-reduction stage.
About the cook
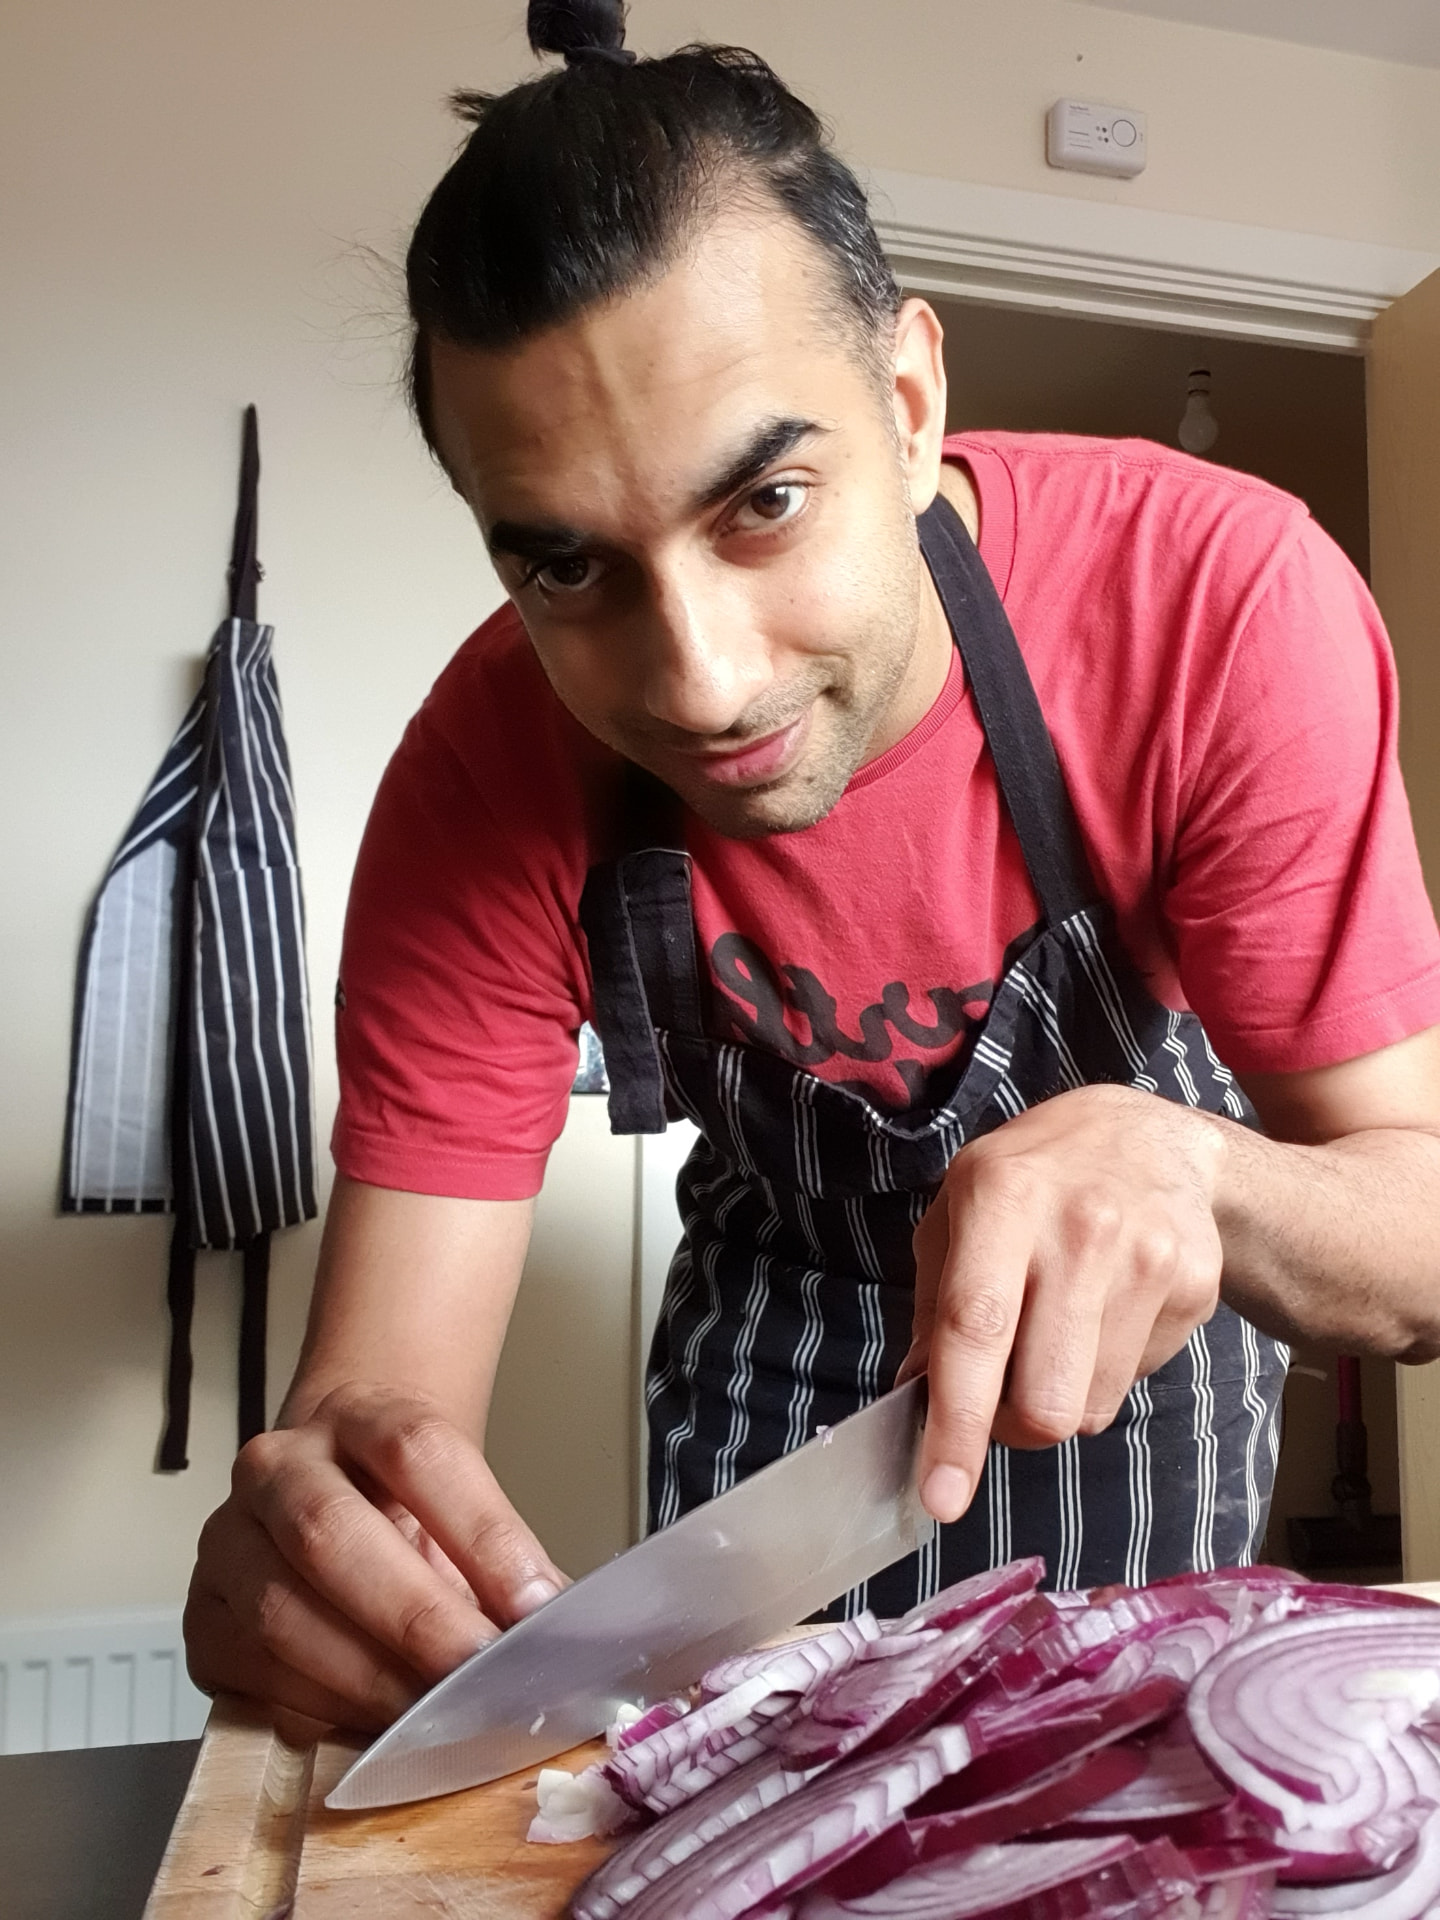
Billie Nabeel Tabassum
British-Pakistani home cook writing down the food he actually makes – with the unwritten bits written down.
Read more about Billie →You might also like
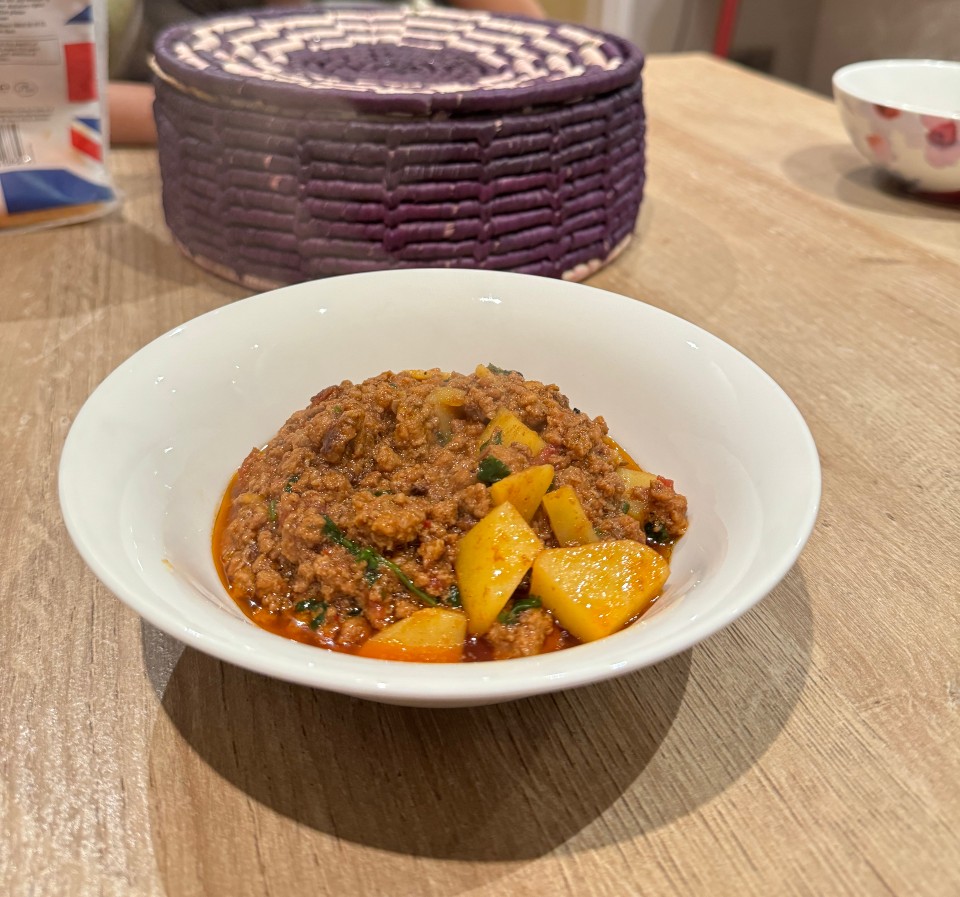
Pakistani Aaloo Qeema – Mince & Potatoes
A homestyle Pakistani dish of minced meat and potatoes cooked with red onions, tomato, yoghurt and simple spices until the qeema is savoury, the potatoes are tender and the finished dish is moist rather than saucy.
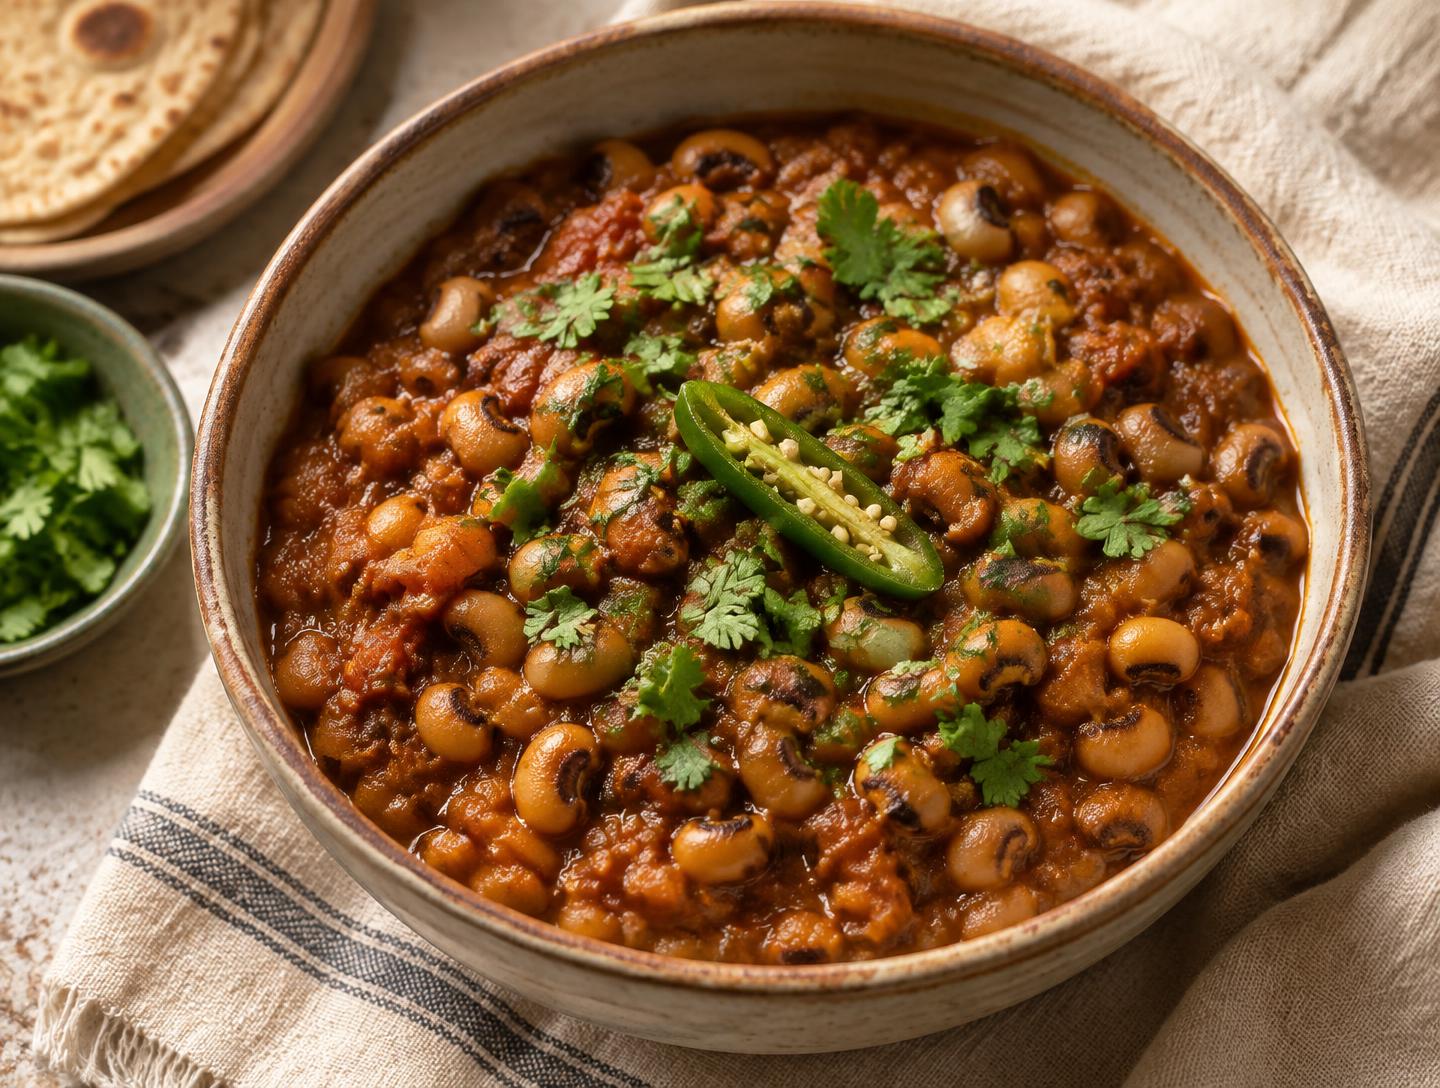
Pakistani Lobia – Black-Eyed Pea Salan
My Lahore-style safed lobia: a mild, naturally vegan Pakistani salan of tender black-eyed peas cooked with red onions, tomato and simple spices. Made for roti or rice.
Reviews
Be the first to review this recipe.